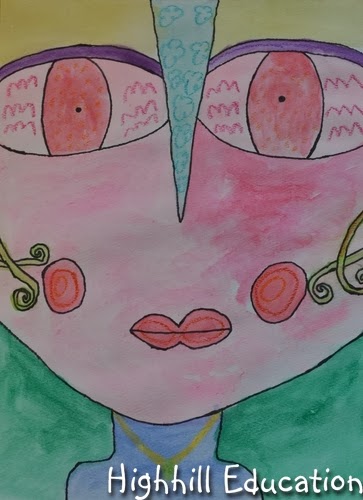
When we draw faces the natural tendency is to begin with an oval and work inwards adding features. This project inspired by Art Projects for Kids, shifted that paradigm.
First a small dot was placed in the center of the paper to help size the great nose. The nose was then constructed from the dot to the top of the paper.
Next two dots were placed about half-way between the nose base and top and around half-way between the center of the paper and the edge. These dots were the pupils. Eyes were drawn around the dots such that they also reached the edge of the paper.
Once the eyes were finished, a dot was placed on the mid-line of the paper between the base of the nose and the bottom of the page. That dot marked the location for the mouth.
After the features were drawn, a chin and neck were added.
Then the drawings were outlined in black marker. In hindsight, I would recommend outlining after painting is complete as some types of marker run when they get wet.
Before painting crayons were used to add line elements to the features.
For more arts and crafts projects for kids please visit our Arts & Crafts Page and these great blog hops.


No comments:
Post a Comment
Note: Only a member of this blog may post a comment.