Materials
White or Skin Colored Fabric
Ball of Yarn
Cotton or Scraps to Stuff Head
Scissors
Clothing Fabric
Glue Gun (Optional)
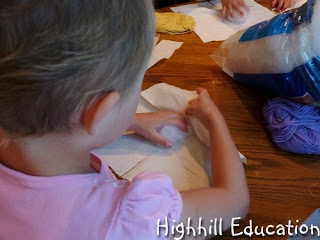
Cut the fabric into a 12 inch square. Fold it in half. (Fold is at top in photo). Cut a slit down the center approximately 4 inches long. Cut slits approximately 3 inches long 1.25 inches below fold.
Place a small ball of cotton in the middle of the fabric to form the head.
Fold the fabric around the head and tie a knot in the yarn around the neck.
Find the pieces marked with X's and O's and join them together to become legs. Place rubber bands around the legs if desired. Pull out two fabric pieces to become arms.
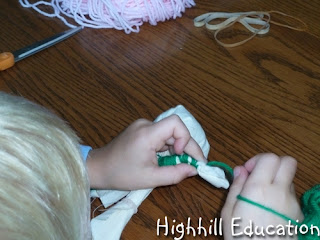
Begin wrapping yarn around one of the arms.
Continue wrapping yarn until the hand is reached.
At the hand begin wrapping the yarn back up the arm. At the armpit wrap the yarn around the neck a few times and then wrap down and back around the other arm.
Once both arms are wrapped, wrap yarn in an X shape around the middle.
Wrap down and up each leg. Then wrap yarn around the tops of both legs together to form the belly.
One common problem is the yarn unravelling at the foot or hand. To prevent this leave plenty of fabric for the hands and feet.
Another way to prevent this problem is to dab a little glue on the hands and feet with a glue gun.
If the yarn has already unravelled, consider placing a cast on the doll.
The clothes can be made with a rectangular piece of fabric with a hole in the center for the head and a piece of yarn or ribbon for the belt. The edges of this fabric were sewn to prevent unravelling of the fabric. Using felt or fleece would prevent the need to sew.
To create the hat cut a triangular piece of fabric and tie it in a knot at the back of the head.
To sew the boys pants cut a square piece of fabric, put a casing in the top with a string or strip of elastic and cut a slit and sew it up to form the legs.
To see our other craft activities please visit our Craft Page.


No comments:
Post a Comment
Note: Only a member of this blog may post a comment.